Code Review Graph Explained: Smarter AI Reviews with Less Token Waste
A beginner-friendly guide to code-review-graph: how it builds a local code graph, reduces token usage, and helps AI assistants review changes with clearer impact.

TL;DR
Quick Answer Box (Google Search Featured Snippet):
- What is Code Review Graph? An open-source codebase intelligence tool (
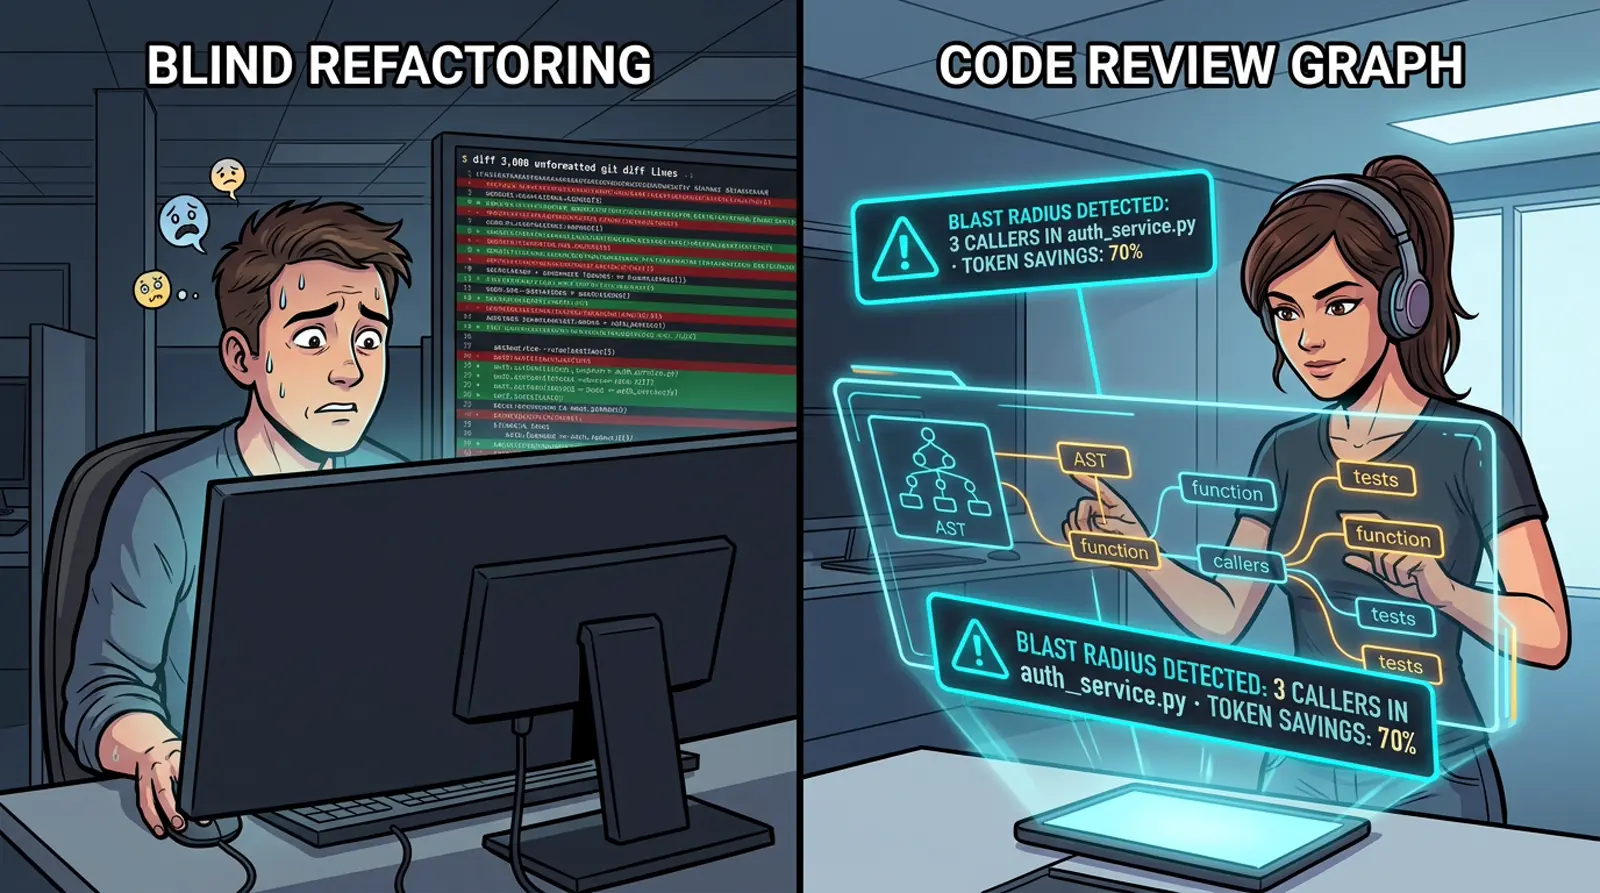
tirth8205/code-review-graph) that constructs a local structural knowledge graph (functions, calls, imports, tests) from your repository so AI assistants (Cursor, Claude Code, Windsurf) can review code changes with full blast-radius awareness.- What problem does it solve? Eliminates blind AI code reviews and saves up to 70% token waste by feeding only relevant dependency subgraphs to the LLM instead of dumping massive raw files into the prompt.
- Quick Start: Install with
pip install code-review-graph, initialize withcode-review-graph install, and index withcode-review-graph build.- Official Repository: tirth8205/code-review-graph on GitHub.
code-review-graphbuilds a local structural graph (functions, calls, imports, tests) so your AI assistant can review only the files that matter.- For students and junior engineers, this is useful because it turns fuzzy review questions into concrete impact maps.
- Use it when your repo has many files or multi-hop dependencies; skip it for tiny one-file experiments.
Repository: tirth8205/code-review-graph
Beginner Map
The 3-Minute Fast Path: From Zero to Code Graph Reviews
- Install CLI: Run
pip install code-review-graphin your Python environment. - Build Local Graph: Execute
code-review-graph installandcode-review-graph buildinside your project root. - Query Blast Radius: Run
code-review-graph diffto analyze modified functions and trace all downstream callers. - Wire to MCP AI Agents: Connect the graph server to Claude Code or Cursor. Compare with GitNexus for full-repo AST knowledge graphs and Strix for autonomous security scanning.
If you are completely new, think of this project as a “codebase X-ray” for AI tools.
- Install the CLI.
- Run one command to build a graph from your repository.
- Let your assistant ask graph tools for blast radius, affected flows, and likely test gaps.
Student First Assignment
In 30-60 minutes, do this in a practice repo:
- Install:
pip install code-review-graph. - Run:
code-review-graph installthencode-review-graph build. - Change one function and ask your assistant: “What is the blast radius of this change?”
- Compare the answer with a naive
grep-only approach.
Giphy source: https://giphy.com/gifs/chuber-qa-quality-assurance-l0K4n42JVSqqUvAQg
Part 1: Foundations (Mental Model)
Most AI coding tools are strong at local edits but weak at global impact awareness.
That is why refactors can look clean in one file but silently break callers, downstream modules, or tests. code-review-graph addresses this by indexing your repository into a graph of:
- nodes: files, symbols, tests, and flows
- edges: calls, imports, inheritance, and evidence-based relationships
Mental model:
- LSP answers “what is this symbol right here?”
- Grep answers “where does this token appear?”
- Code review graph answers “what else is likely affected if this changes?”
Part 2: The Investigation
The practical workflow from the README is straightforward:
pip install code-review-graph
code-review-graph install
code-review-graph build
What happens next:
installdetects supported AI coding tools and prepares MCP configs.buildparses your codebase (Tree-sitter based) and stores graph data locally.- Subsequent updates can be incremental, so repeated analysis is much faster.
This project emphasizes local-first behavior. The graph is computed on your machine/runner, which helps teams that care about privacy boundaries.
Part 3: The Diagnosis
What this repo does well:
- Blast-radius analysis for change impact.
- Broad language surface (including common backend/web stacks and notebooks).
- CI integration via GitHub Action for risk-scored PR comments.
Important caveats from project docs:
- Small single-file changes may not benefit from graph overhead.
- Some benchmark metrics are upper-bound by graph-derived ground truth.
- Flow detection and ranking quality vary by language/project style.
For beginners, this is an important engineering lesson: tools are force multipliers, but you still need to understand tradeoffs and confidence levels.
Part 4: The Resolution
If you want to adopt this in a team, use a phased rollout:
- Pilot on one service repo.
- Add
detect-changesor risk-scored review flow to PR habit. - Tune thresholds to reduce false-positive review noise.
- Only then scale to larger mono-repos.
Starter CI sketch:
on:
	pull_request:
jobs:
	review:
		runs-on: ubuntu-latest
		steps:
			- uses: actions/checkout@v7
			- uses: tirth8205/code-review-graph@v2.3.6
				with:
					github-token: ${{ secrets.GITHUB_TOKEN }}
Final Take
code-review-graph is a strong example of practical developer tooling: it does not try to replace engineering judgment, but it improves the quality of questions your AI assistant can answer.
For students, the biggest value is not only token savings. It is learning to think in systems:
- What changed?
- What is connected to it?
- What is the confidence level of that connection?
- Which tests should run first?
To compare structural AST graph traversal with dynamic execution flow, explore our architectural deep dive on GitNexus codebase knowledge graph.
Related posts
- AI & Agents
GitNexus: What Is It? MCP Codebase Graph for AI Agents (Cursor & Claude)
What is GitNexus? Index any codebase into KùzuDB via 7 MCP tools - stop AI agents breaking refactors with blast-radius queries before they edit code.
16 min readRead → - AI & Agents
Hindsight: Beyond RAG, How AI Agents Build Long-Term Memory That Learns
What is Hindsight? Deep dive into vectorize-io/hindsight: the open-source biomimetic agent memory engine replacing naive RAG with Retain, Recall, and Reflect.
10 min readRead → - AI & Agents
VoiceStudio Explained: The 33k-Star Local AI Voice & Dubbing Engine
Explore VoiceStudio, the 33k-star open-source ElevenLabs alternative with 646 languages, OmniVoice cloning, voice design, and native MCP agent support.
8 min readRead → - AI & Agents
AI Berkshire Explained: Turning Claude Code and Codex into a Disciplined Investment Research Team
A practical breakdown of AI Berkshire: a multi-agent value investing framework with structured skills, bias guards, and financial rigor tooling.
6 min readRead →